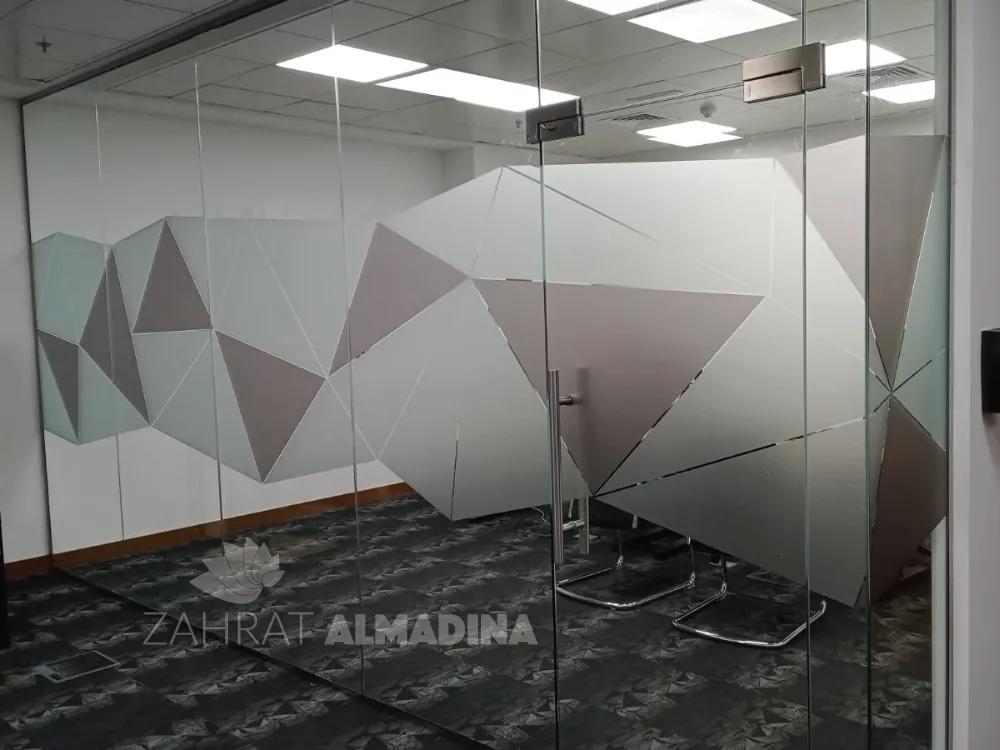
Frosted glass stickers can add privacy, decoration, or branding to office partitions, meeting-room doors, shop windows, and other glass surfaces. However, the finished result depends heavily on preparation and installation. Small mistakes can lead to bubbles, wrinkles, lifting edges, uneven alignment, or visible dirt beneath the film.
For businesses and property owners in Dubai, understanding how to apply frosted glass stickers correctly can help prevent these problems and produce a cleaner, more professional-looking finish.
Why Installation Preparation Matters
Frosted glass film is relatively thin, which means imperfections underneath it can remain visible after installation. Dust, fingerprints, grease, moisture, or small particles can affect how well the adhesive bonds to the glass.
Before starting, gather the necessary tools and make sure the surface is suitable.
Typical tools include:
- Glass cleaner
- Lint-free cloth
- Squeegee
- Spray bottle
- Measuring tape
- Utility knife
- Ruler or straight edge
- Masking tape
- Appropriate application solution
The exact method can vary depending on the type of frosted film and its adhesive system, so manufacturer instructions should always be checked first.
Common Frosted Glass Sticker Installation Problems
1. Dust and Dirt Trapped Under the Film
One of the most common problems is visible dirt beneath the sticker. Even a tiny particle can create a raised spot or prevent the adhesive from making proper contact with the glass.
How to prevent it:
Clean the glass thoroughly before installation. Pay particular attention to corners and edges, where dust can accumulate. Use a lint-free cloth and allow the surface to dry or reach the condition recommended for the chosen application method.
2. Air Bubbles
Air bubbles can appear when the film is applied too quickly or when trapped air cannot escape.
How to prevent it:
Position the film carefully and use a squeegee to push air outward from the center toward the edges. Work gradually instead of pressing the entire sticker onto the glass at once.
For larger panels, having a second person assist with positioning can make the process easier.
3. Wrinkles and Creases
Wrinkles can form when the film is pulled unevenly, folded during handling, or incorrectly repositioned.
How to prevent it:
Keep the film controlled during installation and avoid allowing large sections of adhesive film to contact the glass before alignment has been checked.
If a crease becomes permanently set, attempting to flatten it aggressively may not restore the original appearance.
4. Misalignment
A sticker can be perfectly printed and still look incorrect if it is installed slightly off-center.
This is particularly noticeable when frosted film is being used on glass doors, meeting-room partitions, or decorative panels.
How to prevent it:
Measure the glass first and mark reference points using removable masking tape. For designs containing text, logos, or repeated patterns, check alignment from several angles before final application.
5. Lifting Edges
Edges may lift when the glass has not been cleaned properly, the film is not properly bonded, or the installation conditions are unsuitable.
How to prevent it:
Make sure the glass surface is clean and prepared correctly. Apply firm, even pressure along the edges without damaging the film.
Environmental conditions can also matter. Extreme temperatures or excessive moisture may affect application, depending on the adhesive and product instructions.
How to Apply Frosted Glass Stickers Correctly
A careful installation usually follows a logical sequence.
Step 1: Measure the Glass
Measure the width and height of the surface before cutting or ordering the film. If the design covers only part of the glass, mark the intended boundaries clearly.
Step 2: Clean the Surface
Remove dust, grease, fingerprints, and other contaminants. Cleaning the surface properly is one of the most important steps because anything left behind can become visible under the film.
Step 3: Position the Film
Use masking tape or another suitable temporary method to hold the film in position. Check the alignment before exposing the adhesive fully.
Step 4: Apply Gradually
Depending on the product, use the recommended wet or dry application method. Work in small sections and use a squeegee to remove trapped air as the film is applied.
Step 5: Inspect the Edges
After installation, examine the edges and corners carefully. Check for lifting, bubbles, wrinkles, or areas that have not bonded properly.
Choosing the Right Frosted Glass Material
Not every frosted sticker is intended for the same application. Some are designed mainly for decorative purposes, while others are selected for privacy or branding.
Businesses can review frosted glass stickers in Dubai when comparing styles, applications, and material options for office or commercial glass.
Consider the following before ordering:
- Glass type and surface condition
- Desired level of privacy
- Full or partial coverage
- Decorative versus functional purpose
- Indoor or outdoor location
- Expected duration of use
- Design complexity
For businesses planning several printed materials alongside glass graphics, a broader range of printing option in dubai may also be relevant when coordinating branding materials.
When Professional Installation May Be Practical
Small, simple glass panels may be manageable as a DIY project, but larger installations can be more difficult. Full-height office partitions, multiple glass doors, detailed patterns, and large commercial windows require accurate alignment and consistent application.
Professional installation can be particularly useful when the finished surface needs to look uniform across multiple panels.
A useful installation guide should also be reviewed before beginning. Information on how to apply frosted glass stickers correctly can help identify preparation steps and common mistakes before work starts.
Conclusion
A successful frosted glass sticker installation starts before the film touches the glass. Accurate measurements, thorough cleaning, careful positioning, gradual application, and proper edge finishing can prevent many common problems.
Whether the goal is privacy, decoration, branding, or a combination of these, the glass surface and intended use should guide the choice of material and installation method. Taking time to prepare properly can make the finished result cleaner, more consistent, and longer-lasting.
Frequently Asked Questions
1. Why do bubbles appear under frosted glass stickers?
Bubbles usually occur when air becomes trapped between the film and glass during application. Proper positioning and gradual squeegee application can help reduce this problem.
2. Can frosted stickers be applied to any glass surface?
Many frosted films are designed for smooth glass, but surface condition, coating, texture, temperature, and adhesive compatibility can affect the result. The product specifications should be checked before installation.
3. How should glass be cleaned before applying frosted film?
The surface should be free from dust, grease, fingerprints, and other contaminants. A suitable glass-cleaning process followed by a lint-free cloth can help prepare the surface.
4. Why does frosted film start lifting at the edges?
Poor surface preparation, incorrect application, unsuitable conditions, or insufficient bonding can contribute to edge lifting. The film and adhesive instructions should be followed carefully.
5. Is professional installation necessary for frosted glass stickers?
Not always. Small and simple applications may be manageable with the right tools and preparation. Larger panels, multiple surfaces, or detailed designs can benefit from experienced installation.